


It's that time of year again, where we need to start thinking about thank you gifts for all of those wonderful people who help our children grow throughout the year. I know my list is huge. We have daycare teachers, preschool teachers, school teachers, dance teachers, and coaches to thank in May and June. I'm excited to share some of the things I have been working on over the next few posts with you :)

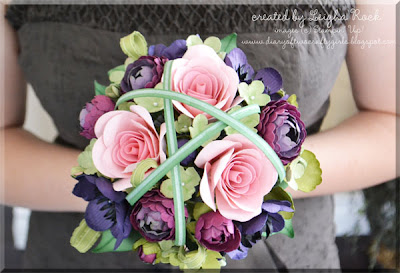
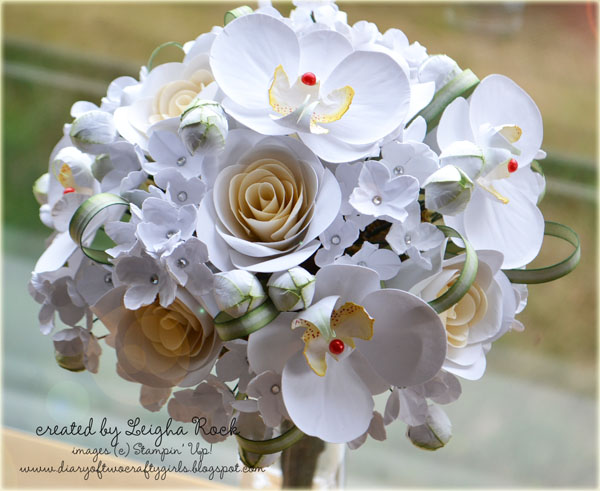
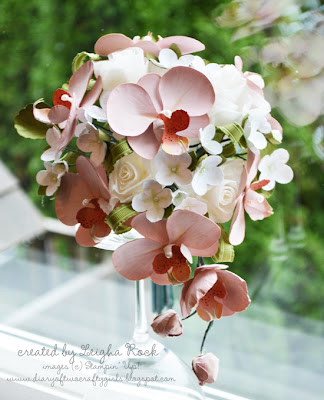
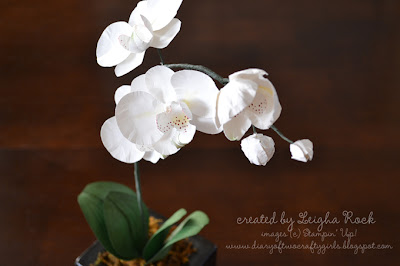
The first project is this pencil vase. What a great teacher gift! This sweet little vase is perfect for my Spring Bouquet (click here), or one of my other paper flower bouquets (see the right side bars). Thanks to all my customers who bought this tutorial and made it so successful! I am always trying to show my customers how versatile these tutorials are. For all of you who bought the Spring Bouquet Tutorial, here is another way to use it.

You will need a round shaped object to form the pencil vase around. I used a glass vase which was 1-1/2" in diameter. (Note: the pencils are not glued to the vase. They are glued to each other. The vase is used just as a form. ) It took 23 pencils to form this vase. I purchased a box of 24 pencils for $2. I wanted my finished vase to be about 5-1/2" high. Start by cutting the pencils down to approx 6" with a pair of gardening shears to save a lot of sharpening to get them down to that size. Then use a pencil sharpener to place the points onto the pencils and get them down to a uniform length.

Place an elastic band around the vase or other former. Place a sharpened pencil under the elastic so that erraser end sits square on the table surface, and the pencil is nice and vertical. Place some hot glue along the side of the pencil, and add another pencil under the elastic and press the two pencils together. Continue adding pencils around the vase. Take care as you go that you are being neat and not gluing the pencils to the vase inadvertantly.

When you are done gluing all the pencils together, slip the vase out. You are now left with a perfect cylinder of pencils. Decorate with a strip of paper or ribbon. I used a strip of Whisper White paper stamped with the Elementary Alphabet builder wheel in Basic Black ink.

Use the glass vase that you used as a former as a guide to cut a 3" thick piece of floral foam into a cylinder. Stuff the cylinder of floral foam inside the pencil vase. The vase is now ready to be filled with paper flowers. You can find my Spring Bouquet Tutorial here, or check out some of my other paper flower bouquet tutorials on the right sidebar.

Enjoy!


0 comments:
Post a Comment